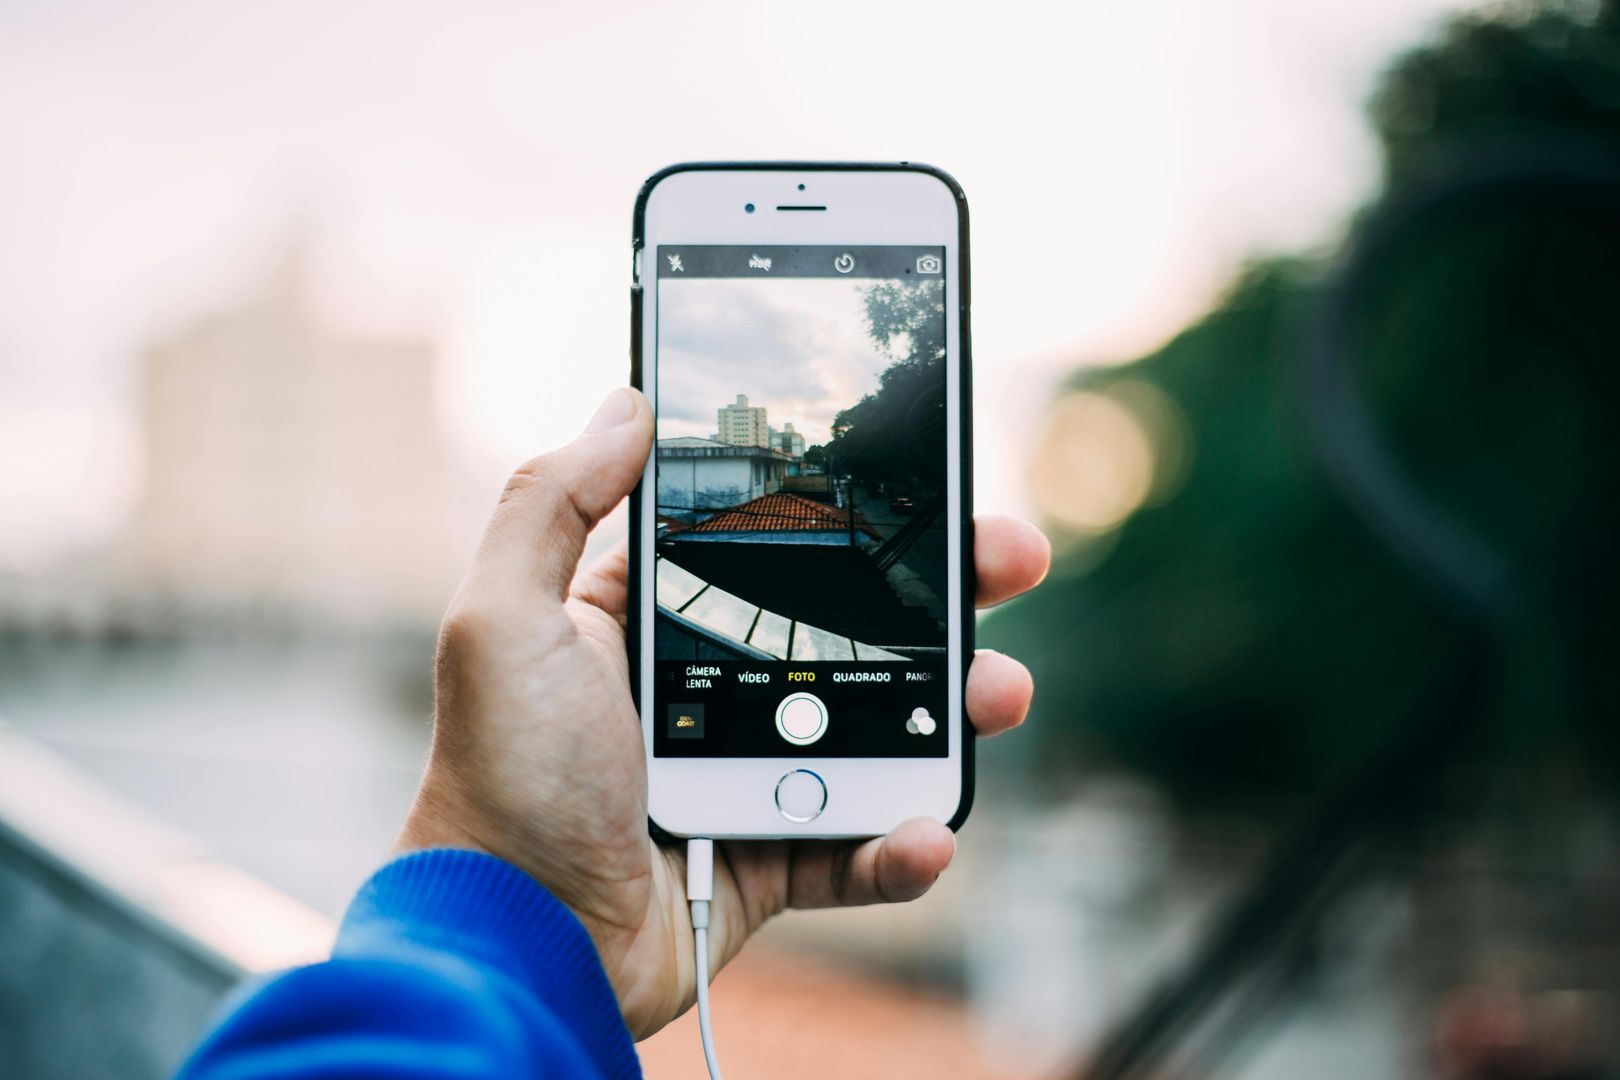
You don't need an expensive camera to capture amazing bird feeder pictures. A combination of the right iPhone photography settings and phone photography accessories make your phone a powerful tool for taking stunning pictures.
These 5 iPhone photography tips will give you a crash course on the elements of shooting, getting the most out of your phone’s camera, and producing sharp, dynamic bird feeder photos.
1. Master Composition & Angles
Composition
is the foundation of every great wildlife shot. Before you start tweaking your phone settings it's important to know how to frame your subject to give your image a sense of balance. With the right setup, you can draw the viewer in and give your image a sense of balance.
Use a Tripod & Timer
The best bird photography tip we can give you is use a tripod. A lightweight tripod paired with the timer or remote shutter minimizes camera shake and results in sharper images. Most blurriness in bird photography happens from unsteady cameras. Place your iPhone tripod within 10-20 feet of your feeder on level ground to ensure your bird feeder pictures will show the bird’s details.
Use the Grid for the Rule of Thirds
Turn on the camera grid in your settings. Place your subject along the grid lines or intersections to create a visually balanced composition. The iPhone grid uses 3x3 ratios, based on the rule of thirds, to help you capture the most visually appealing shot.
- What’s the rule of thirds? The rule of thirds is a mathematical theory on what makes a picture visually appealing. It draws from the fibonacci sequence and how certain ratios are more visually appealing to people than others.
Look for Depth & Experiment with Angles
Avoid flat, straight-on shots. Angle your iPhone slightly to the side to create a sense of depth. Depending on the natural light your bird feeder gets, a straight-on shot may work for your bird feeder pictures. Try experimenting with more drastic shots like getting low to the ground to shoot upward– this mimics the perspective of wildlife and makes the bird appear more dynamic.
Leave Space for Motion
Bird photography often works best when your composition leaves space in the direction the bird is looking or flying.
Horizontal vs. Vertical Orientation
Use vertical shots for tall subjects (like herons in trees) and horizontal for sweeping landscapes or flocks in flight.
Find Leading Lines
Natural or man-made elements like branches or rivers can guide the viewer’s eye toward your bird subject and “direct the focus of the photo [and] create balance”.

2. Lighting & Exposure: The Secret to Vivid Shots
Lighting is the next most essential element for nature photography with your iPhone. It can make or break your bird feeder pictures since sunrise and sunset times change daily.
Shoot during the Golden Hour
The hour after sunrise and before sunset offers soft, warm lighting which is perfect for highlighting feathers and natural settings. Use this sunrise calendar to find your ideal nature photography times. It’ll take some practice but early morning is the best time for seeing birds since it’s when they’re most active.
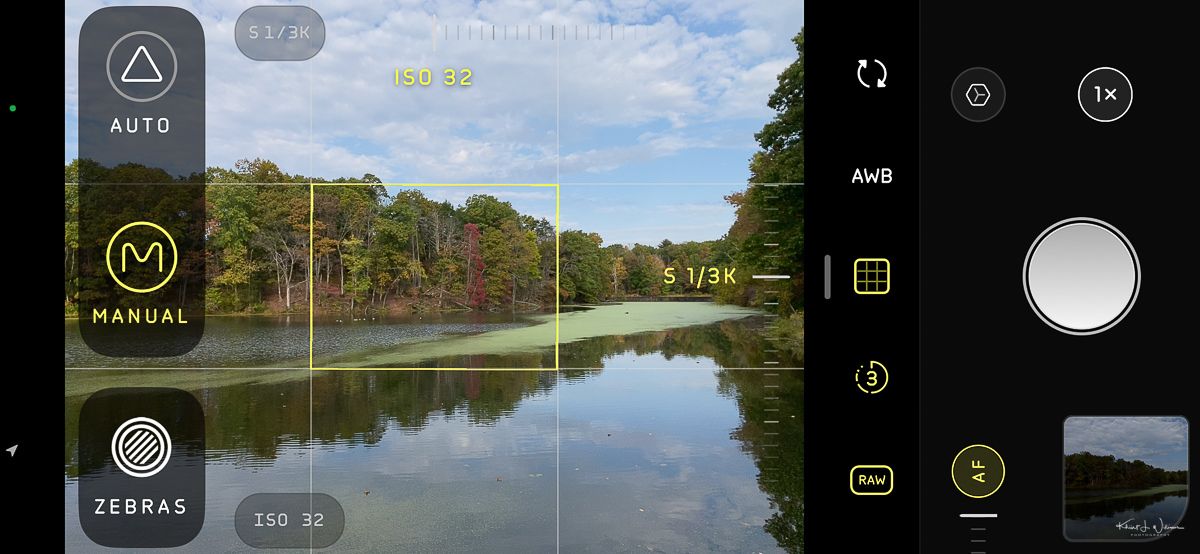
Manual Exposure Control
With your camera open tap on your screen to set focus on the bird, then slide your finger up or down on the sun icon to adjust exposure. This is crucial to avoid blown-out skies or shadowy details and helps ensure you expose for the bird.
This video has great iphone photography tips on How To Set The Correct Exposure For Stunning iPhone Photos to help you take better bird feeder photos.
Night Mode for Low Light
In shaded forests or twilight, turn on Night Mode to let in more light without excessive grain, which is caused by the iPhone increasing ISO sensitivity.
Note about iPhone cameras: You can’t manually change the ISO settings in the iPhone camera app but you can make up for that by adjusting other iPhone photography settings. This low light iPhone photography video is great for nature photography and bird photography .
3. iPhone Camera Settings for Maximum Quality
A few quick tweaks to your phone's iPhone photography settings will make all the difference for bird photography and wildlife pictures alike. These 5 iPhone photography settings will help make your amateur bird feeder pictures look professional.
Enable Burst Mode
Birds are unpredictable. Burst mode is great for any action shot, capturing multiple frames in seconds so you can pick the sharpest shot, ensuring you don't snap only blurry pictures. To use it, simply hold down the shutter button to capture a series of pictures in motion.This is great for capturing birds coming and going from your feeder.
Prioritize Faster Shooting
In Settings > Camera, you can turn on 'Prioritize Faster Shooting,' which modifies image processing to allow you to capture more photos when rapidly tapping the shutter button, ideal for fast-moving birds.
Set Resolution for Highest Quality
To maximize iPhone picture quality, set your photo format to Most Compatible (JPEG) in Settings > Camera > Formats. For supported models (Pro models from the iPhone 12 series and newer), turn on ProRAW & Resolution Control to shoot in 48 MP for the most detail and editing flexibility.
Lock Focus (AE/AF Lock)
Tap and hold on the bird on your phone screen to lock focus, ensuring the subject stays crisp even if your hands shift slightly. This prevents your phone's auto-focus from shifting to the background or foreground (like leaves or branches) when the bird moves.
Try Long Exposure
For scenes with water—like ducks gliding on a pond—use an app like Slow Shutter Cam and a tripod to create silky, ethereal effects.
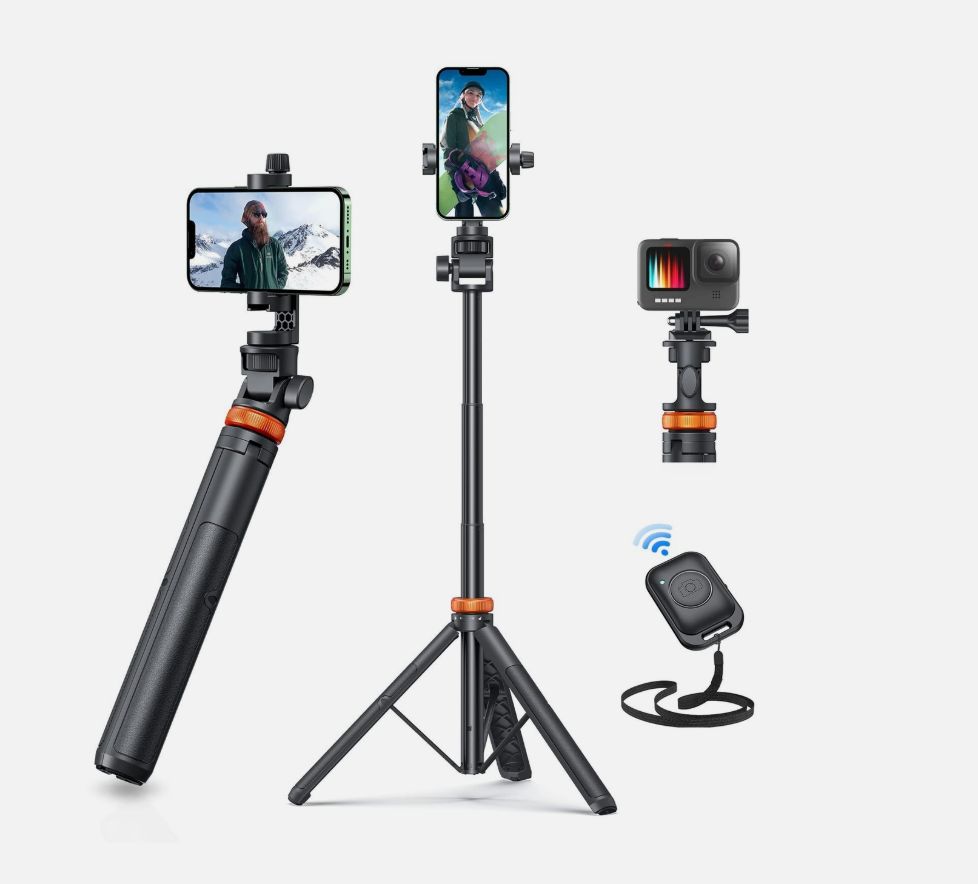
4. Accessories to Enhance iPhone Picture Quality
Even the best composition won’t matter if your photo is blurry. Stabilizing your shot is key to getting the best iPhone picture quality. Below are the top phone photography accessories and tips to make the best pictures on your iPhone. Edit so it’s a blurb about accessories, not tripods. Phone cameras can't compare to real cameras or pro cameras despite settings, ergo pickup some accessories.
Tripods with timers (Phone Photography Accessories)
The first tripod we recommended is versatile and can be used for handheld shots when it’s not set up for bird feeder pictures.Alternatively, you can try this motion activated tripod for dynamic shots of your bird feeder. It moves to keep your subject in view so you never miss a bird feeder picture.
Use an iPhone Photography Lens Kit
If your iPhone has wide, ultra-wide, and telephoto lenses, use them instead of relying on digital zoom, which degrades iPhone picture quality.The iPhone telephoto lens kit is especially useful for bird photography from a distance, giving you more reach without a blurry crop. The bonus macro lens can be used for small or close up pictures like bugs, flowers, and more.
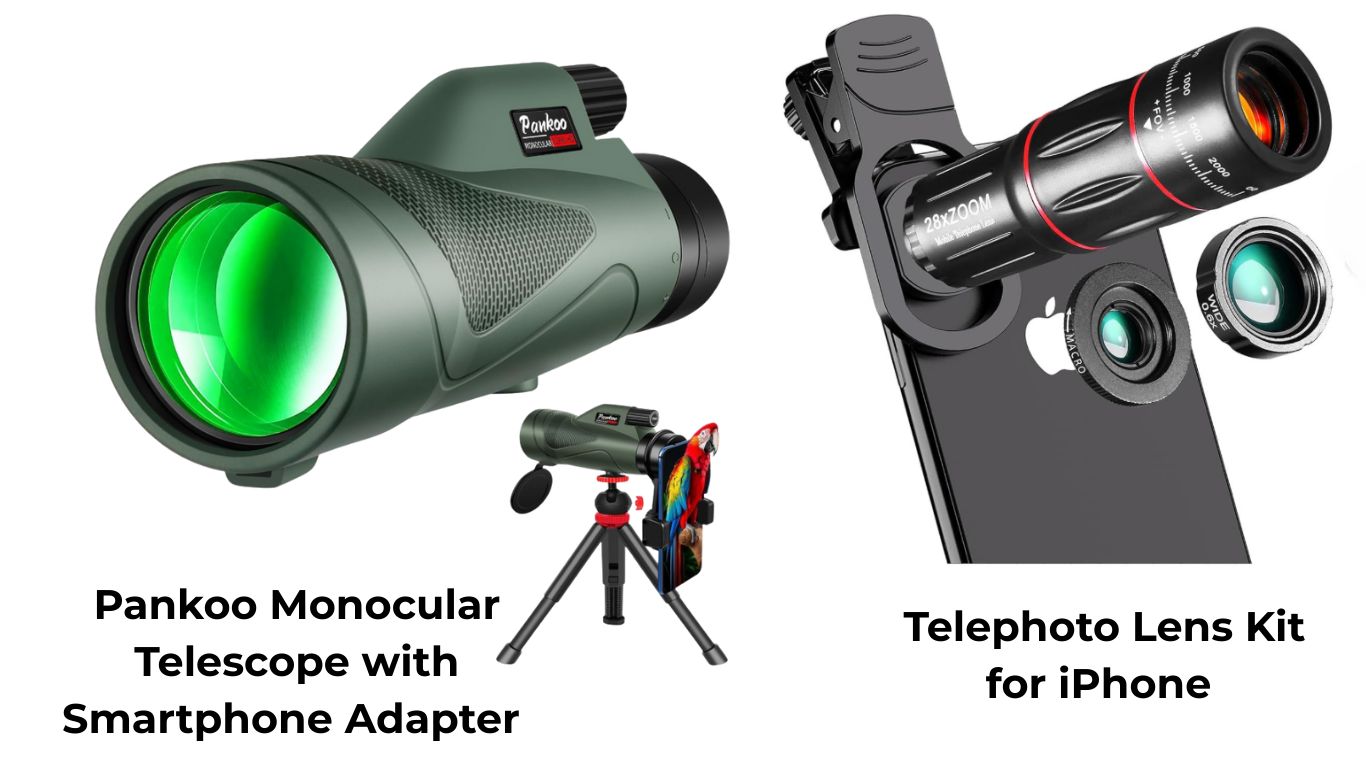
The monocular telescope lens is a slightly larger phone photography accessory that can also be used bird feeder pictures, on-the-go bird photography, or as a handheld telescope for bird watching.
- Do I need an iPhone photography lens kit?
Most likely, yes. Digital zoom essentially crops the photo before you take it, which results in a pixelated image. Get physically closer to the bird feeder with your tripod or use an optical lens accessory instead.
A window phone mount can work in place of a tripod if your feeder is close to your window and you have minimal sun glare. Make sure you know the height and position you want the phone in before you adhere it to the window.
Use a newer iPhone
Picture quality is highest on the newer iPhone models.
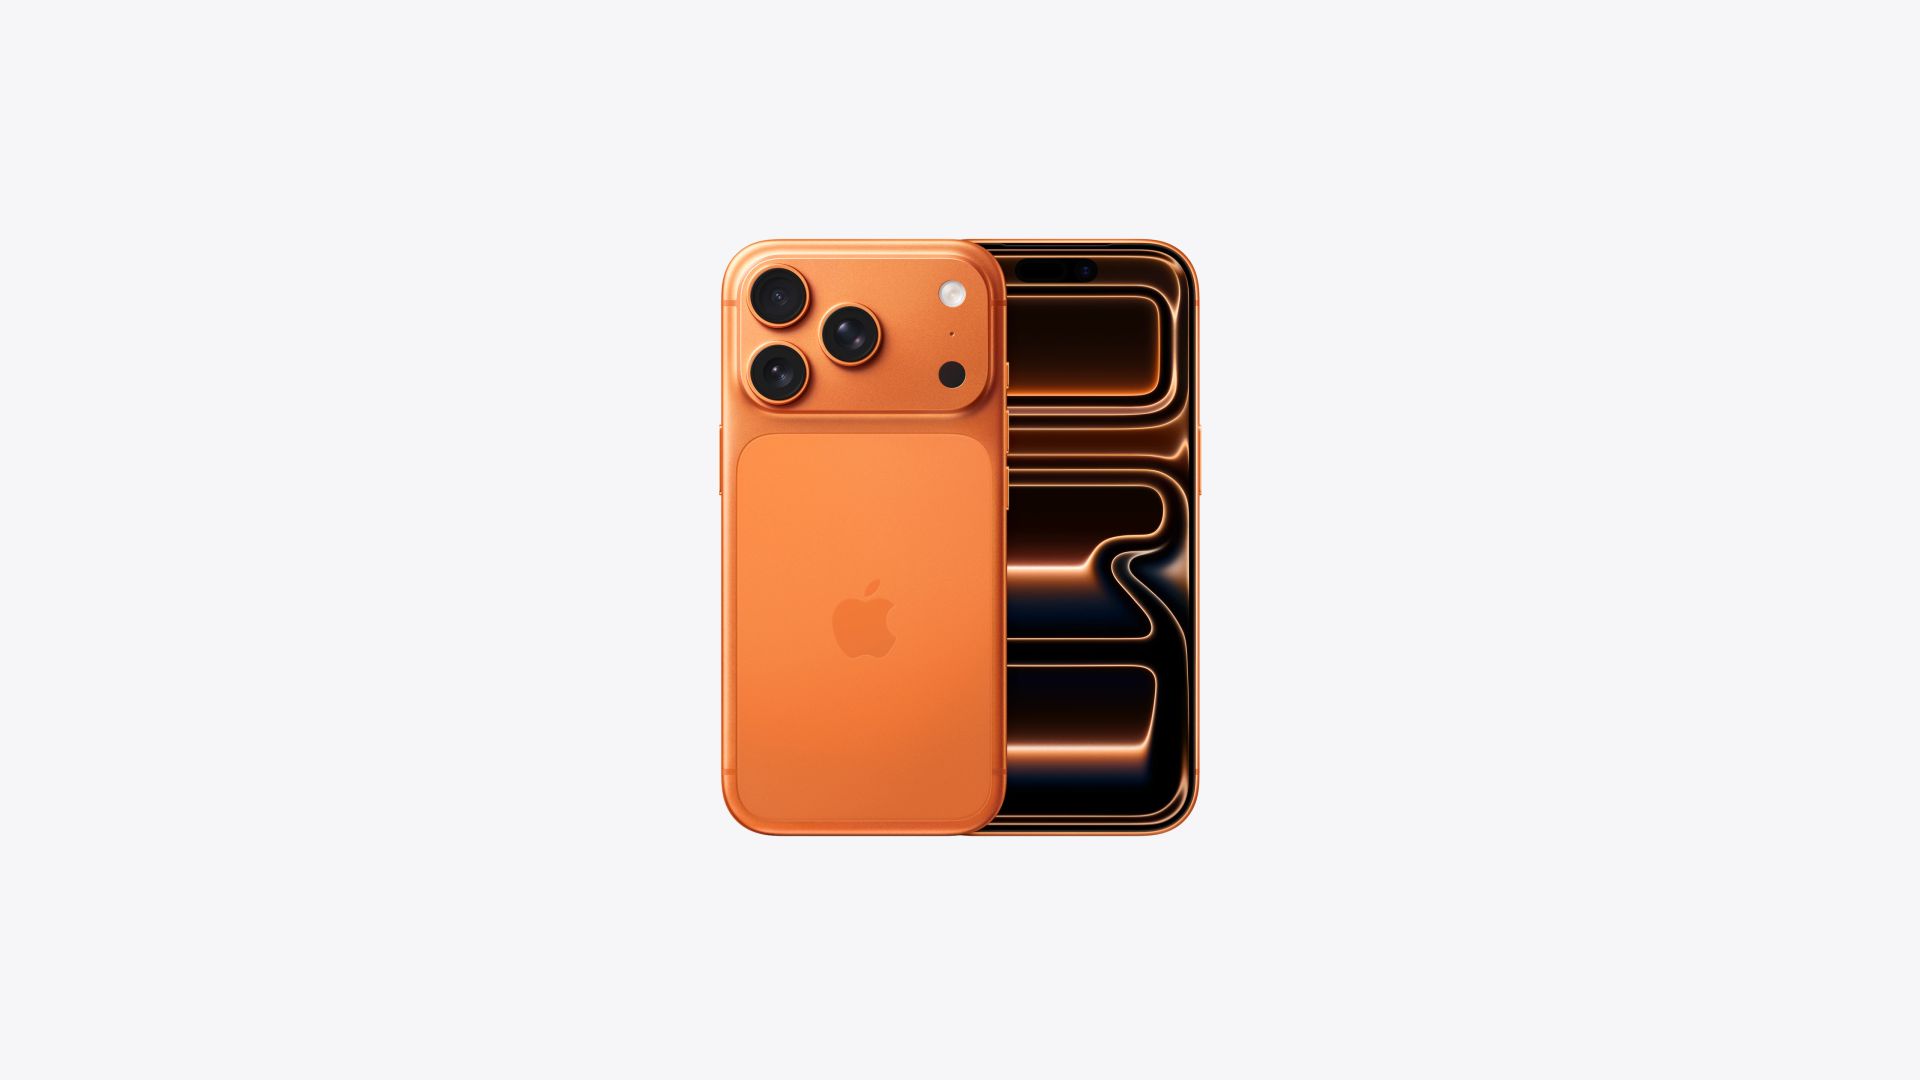
Consider swapping out your old tech for new with the iPhone 17 Pro, which features an upgraded telephoto lens perfect for birdwatchers, naturalists, and amateur photographers.
5. iPhone Picture Editing is a Must
Even experienced photographers edit their work. A few easy adjustments can make your bird photography look absolutely stunning.
Use Snapseed or Lightroom Mobile
These apps allow you to brighten shadows, fine-tune highlights, and sharpen details in feathers and eyes. Check out this Snapseed tutorial to get started.
Crop for Impact
Tighten your frame to make the bird the clear focal point, always keeping the rule of thirds in mind.
Enhance Natural Colors
Gently boost saturation or warmth to highlight plumage without making the image look artificial. Great editing is about enhancing what’s already beautiful.
Your final iPhone photography tip for better bird feeder pictures is to create a cheat sheet in your phone’s notes with a link to this article. There are a lot of settings tips and changes you might make over time, so add the article link to your notes or create a bookmark to save our guide for future reference.
And remember, practice makes perfect.
What birds have you seen in lately?
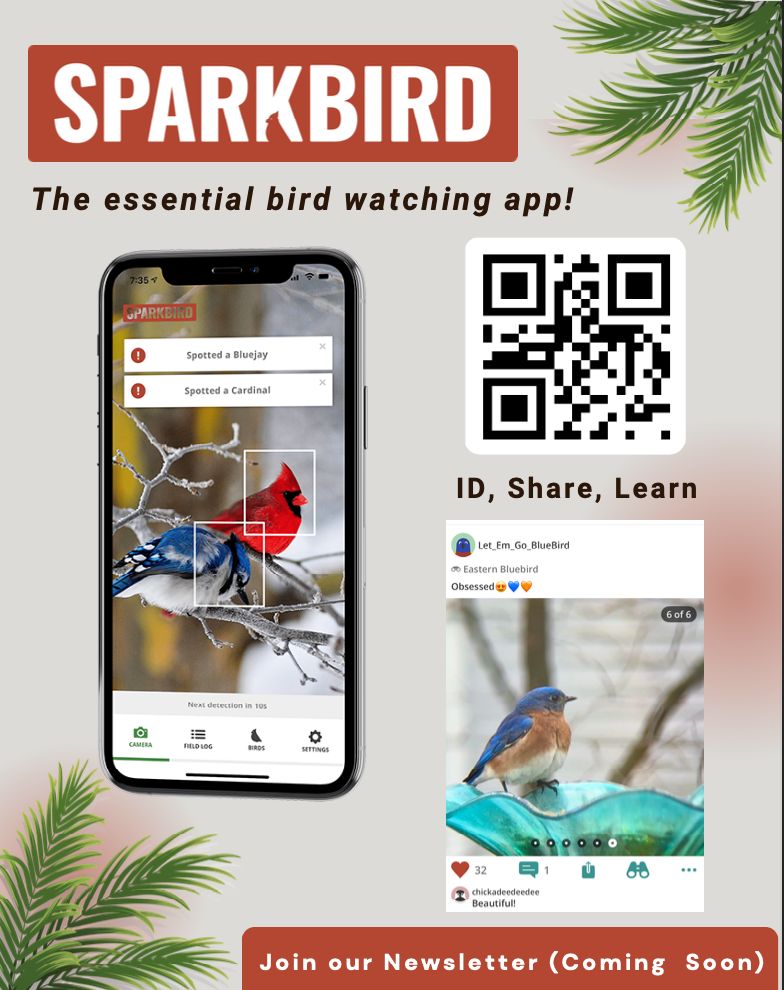
Share them on the Sparkbird App! Available in the Apple App Store.
Happy Birding!